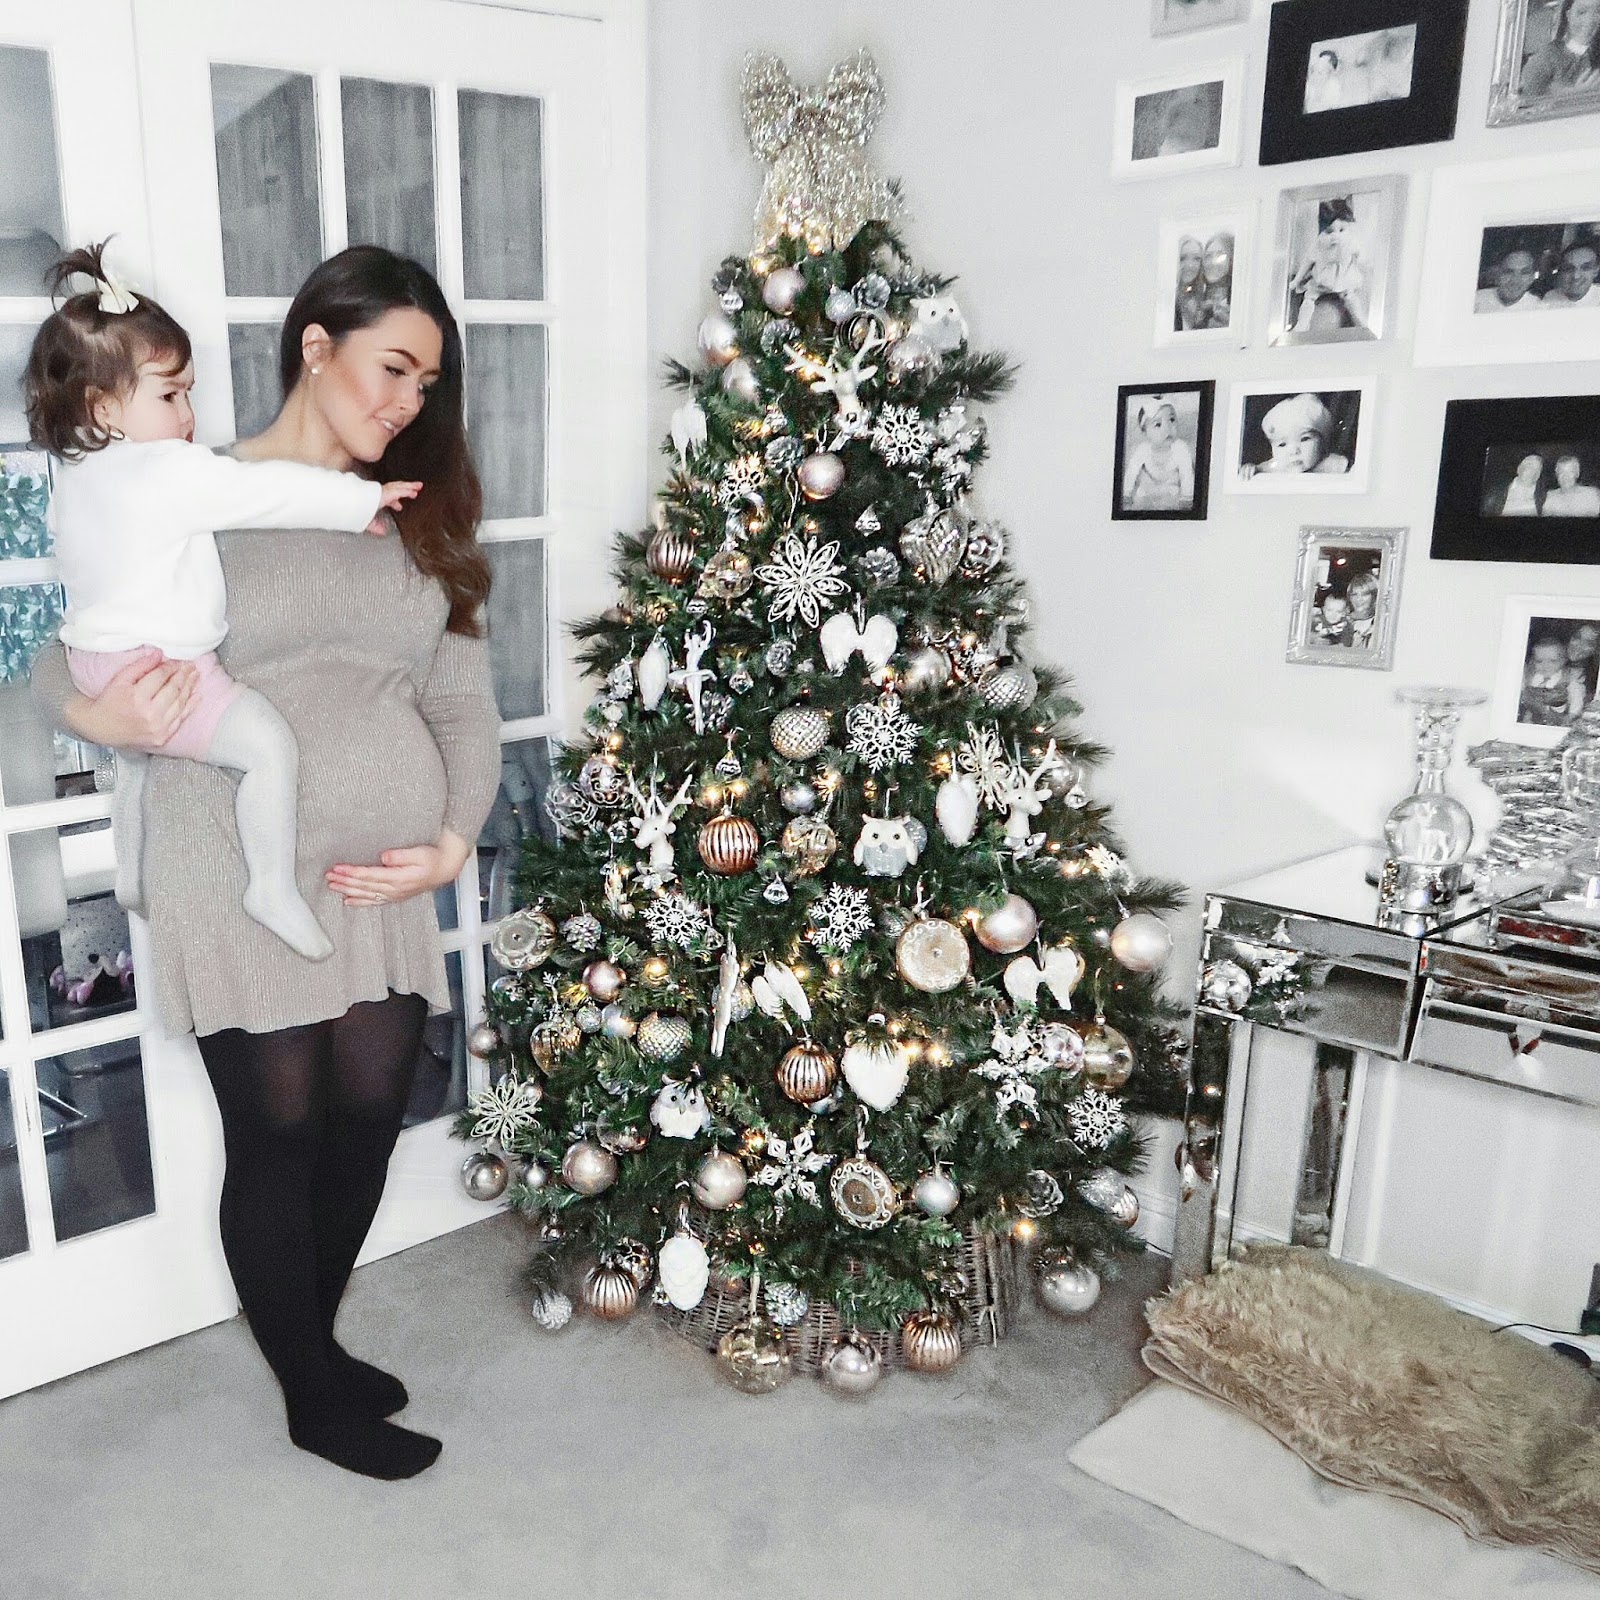
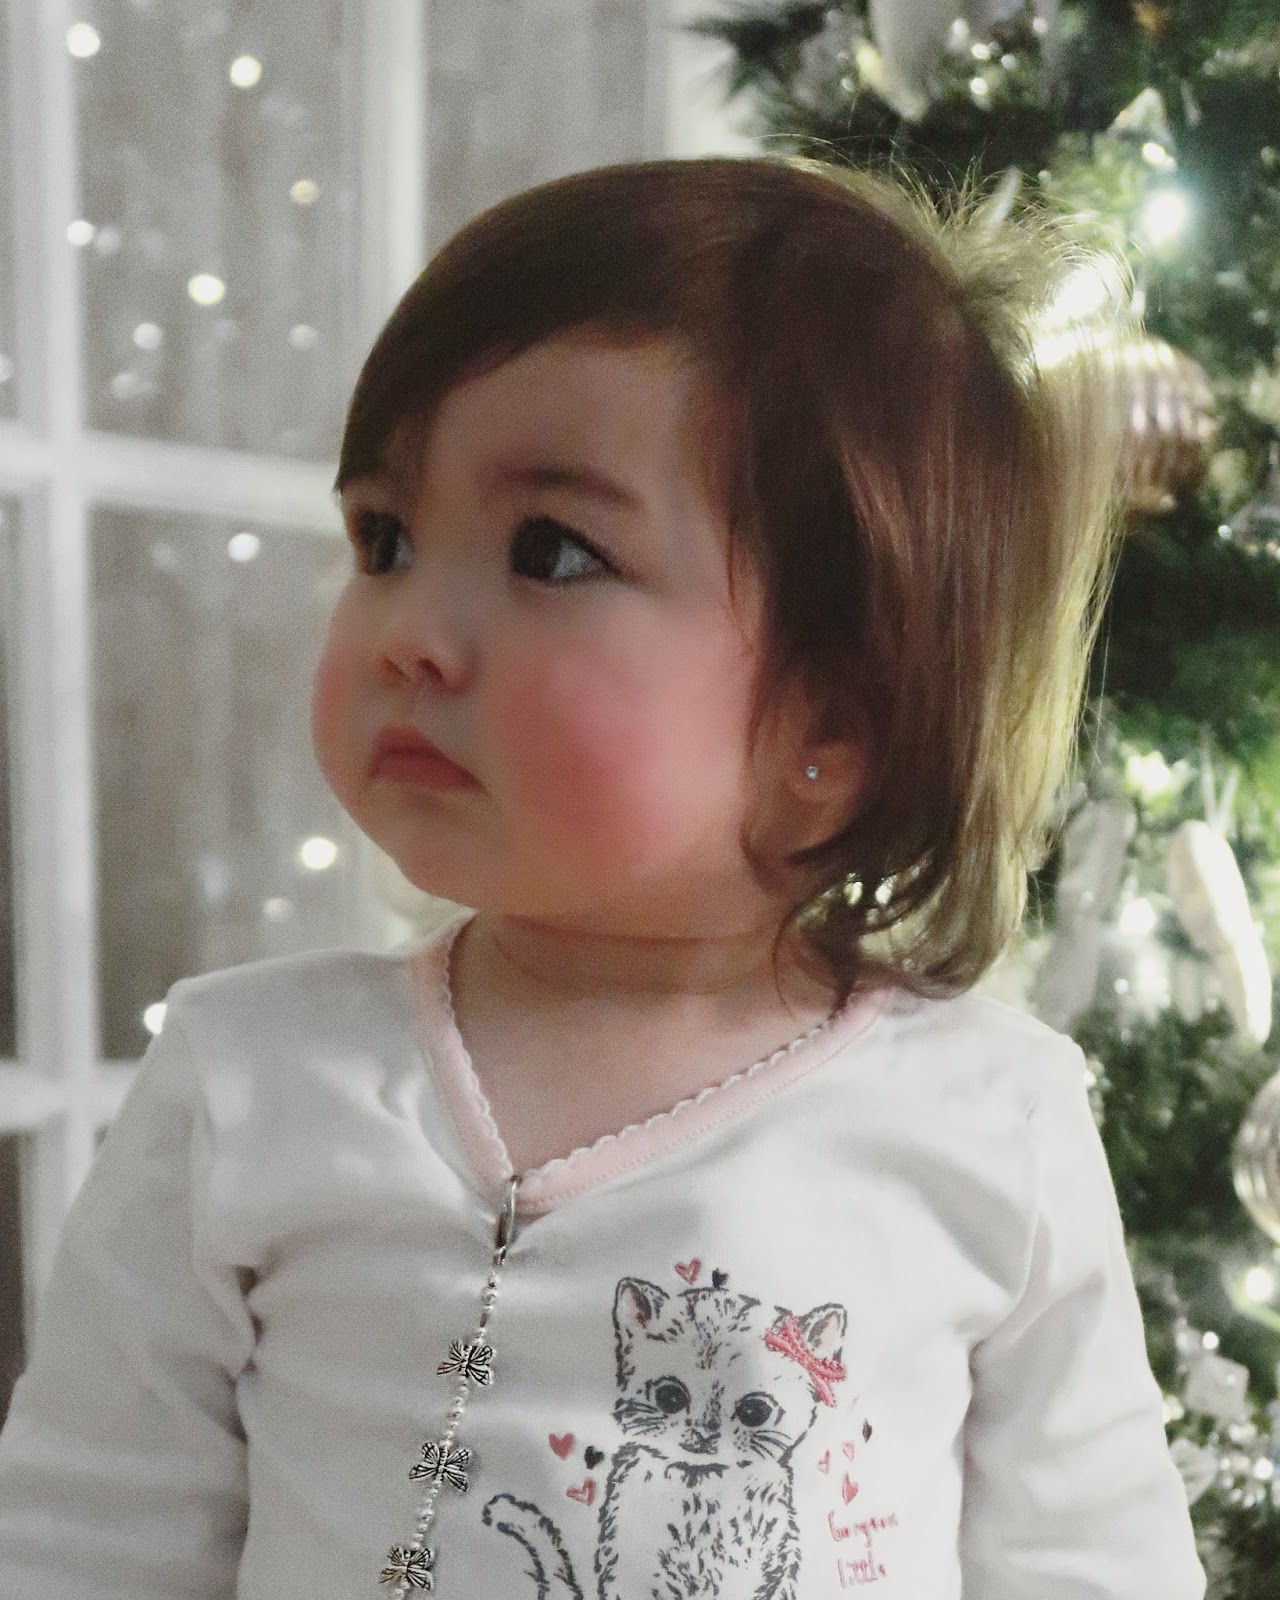
After uploading a photo of Ella & I by the Christmas tree on Instagram (here!) I've had lots of requests to do a post for my tips on how to decorate. I'm by no means suggesting my tree is harrods worthy, however I do think my method of decorating works well & gives it a full, finished effect.
So without further ado, here are my top tips to festive finesse!
1. Have a Theme
This is probably the most important tip of all. Whether you're starting from scratch or you've had the same box of decorations for years, it is crucial to have a theme or colour scheme. Personally, I think it always works best if you keep the same tones as you already have in your living space or wherever your tree will live for the next month. My tree is in our living room where I have a fairly neutral palette with some champagne and silver tones. By carrying the same colours over to my tree decoration it means the tree doesn't look out of place and makes it one cohesive space. This simple tip adds value to your overall finished look and appears well thought through.
2. Start with Simple
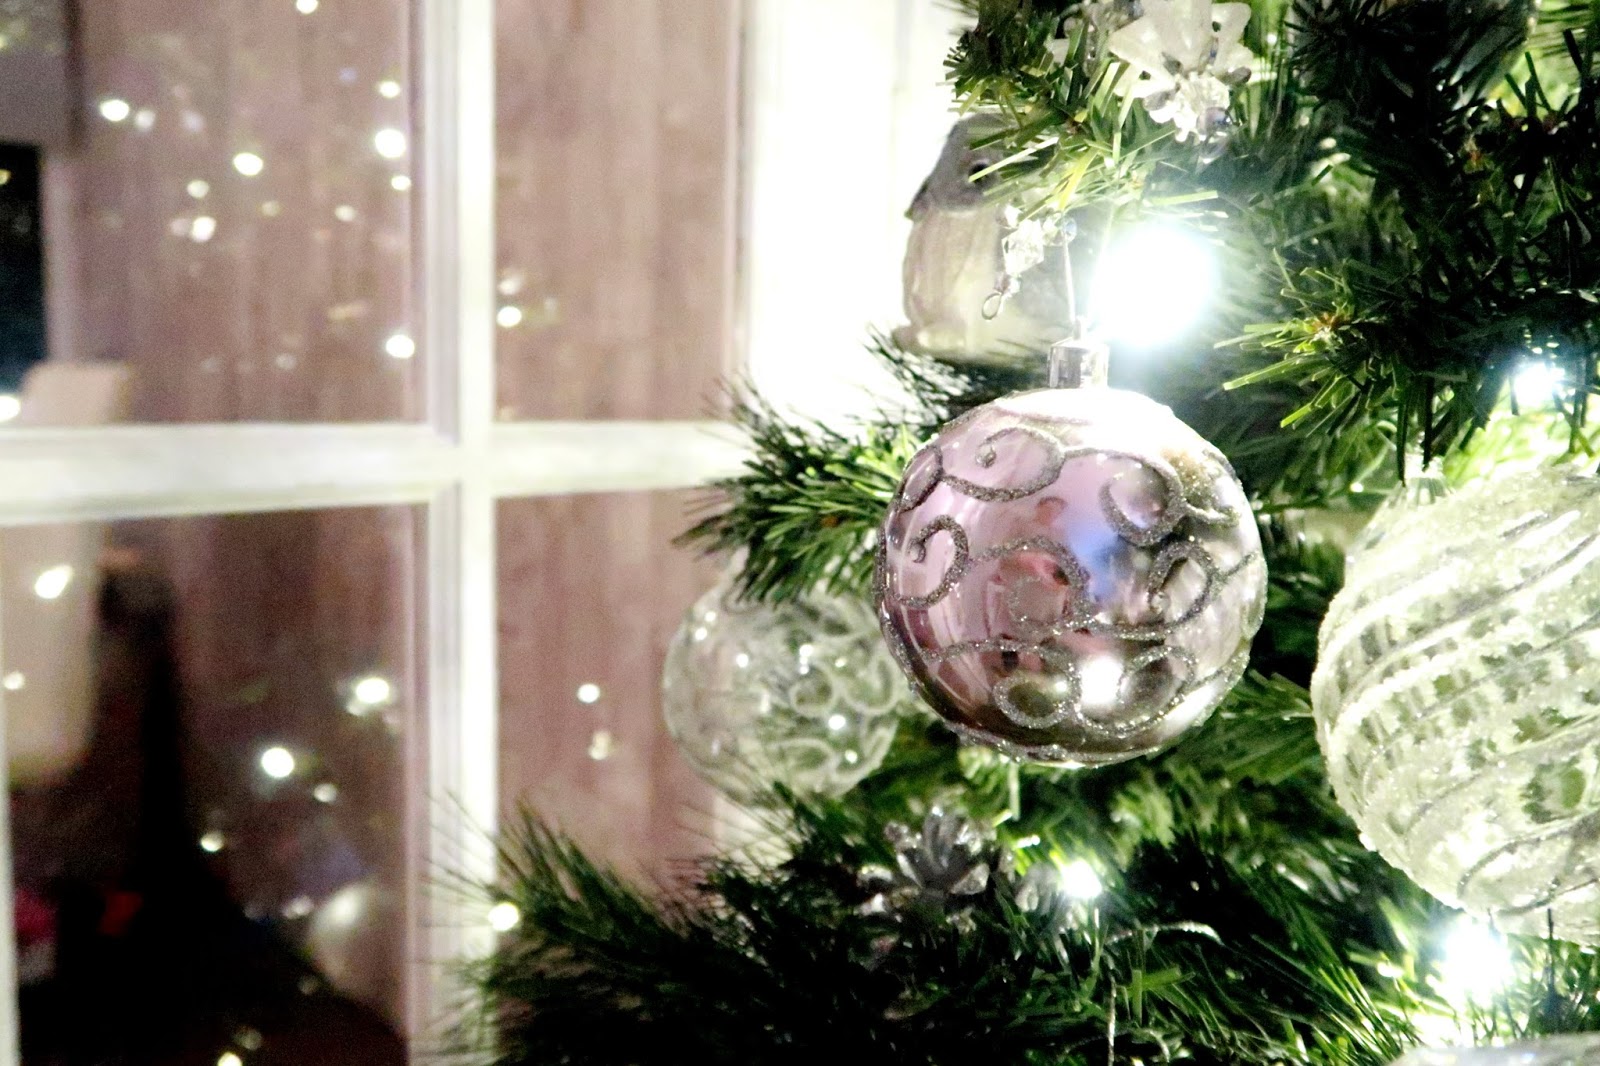
Once you're finished the dreaded unravelling of branches and you're finally ready to start decorating I always think starting with your simple bauble packs works best. Roughly sort them out into groups of the same decoration and spread them evenly across your tree. These are the ones that you can afford to have at the back and leave space at the front for your special decorations. I bought 5 x 6pack boxes of large baubles from B&M a couple of years ago & they were only £2 per box. They have similar in store here :- Luxury Christmas Baubles. The size I use is 80mm, I tend not to go any smaller than this as you don't get the same fast fullness with smaller decorations!
3. Touches of Texture
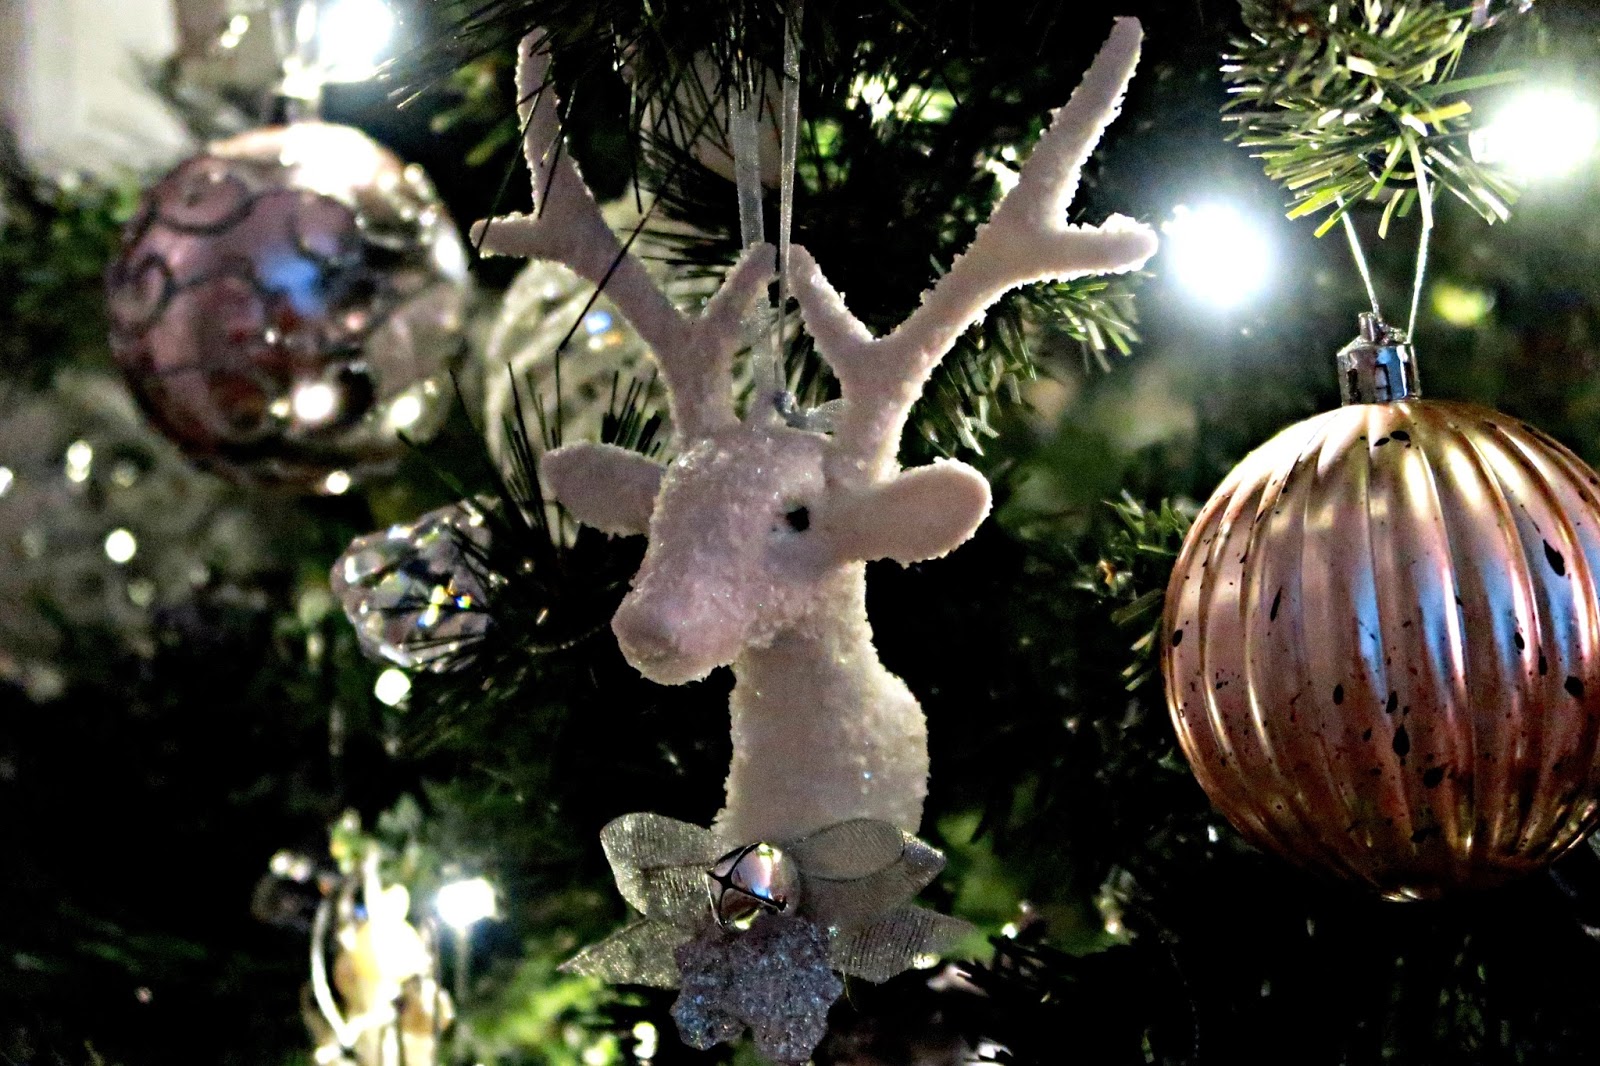
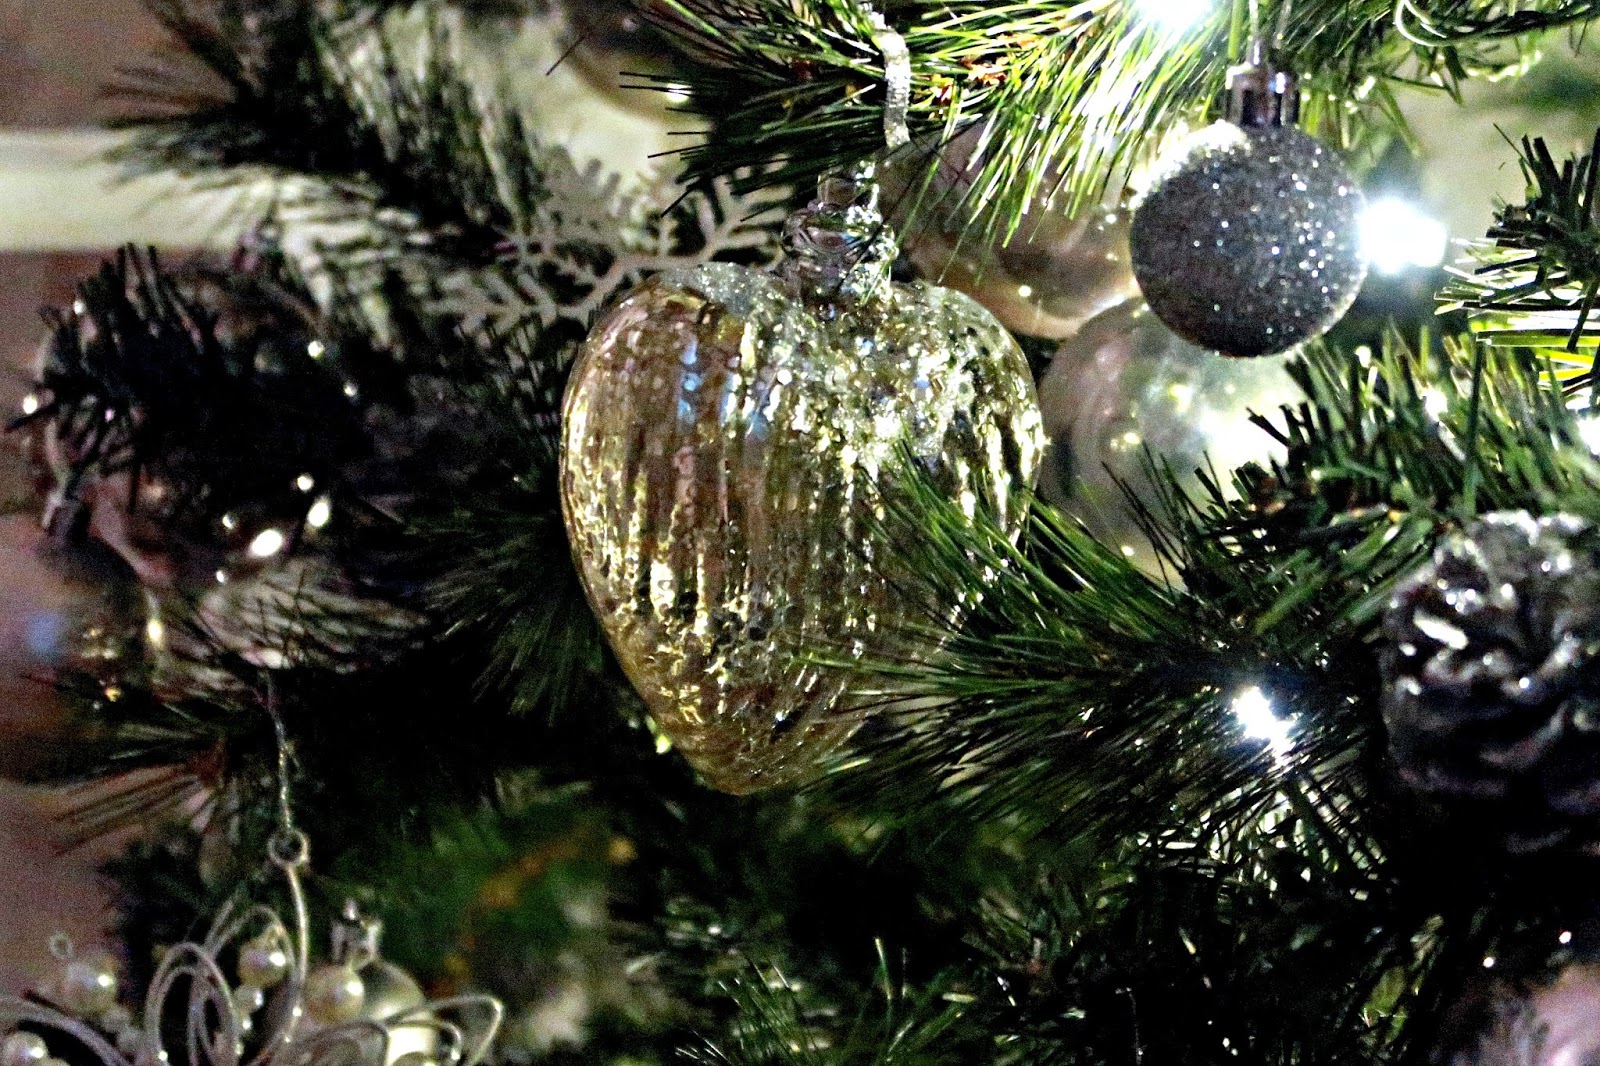
A tree filled with the same plastic baubles is well, a little bit boring. By adding in decorative touches of different textures you can really make your Christmas tree look expensive! Include beaded, metal, glass and fabric decorations to your tree to give it the wow factor. I found that ASDA & Matalan had lots to chose from in their christmas ranges and they're very reasonably priced. Buying in 3s and 4s works best for evenly spacing them out.
4. Festive Fillers
Once I have all of the simple baubles on & I've placed on my more special decorations like the glass baubles and the textured pieces, I like to fill the gaps to give my tree that fully iced look. I picked up little snowflakes from ASDA Home last year (similar here) and I don't hang them on the tree, instead I wedge them in the spaces between branches to give it a fuller effect. I also try to create a little bit of dimension by putting some decorations on the inside. I have 30 glitter pine cones that you can purchase from B&M or make yourself and I just place these inside the tree and again in-between branches. This is good for when you run out of branch hanging space and also for when you're at the end of you decorating shift and have lost the will to live!
5. Make it Personal
One of my favourite parts of looking out the Christmas decorations is having a nosey through the personal bits & pieces we have collected over the years. We have one for our dog, Lola that we were given by my brother & sister-in-law, a few 'My 1st Christmas' baubles and the most special one of all is the trinket bauble I have with mine & Fraser's initials on it where he popped my engagement ring in last year to propose to me - aww what a hopeless romantic! (queue the 'boy did good' nods of approval). It's so nice to have a story behind some of the pieces you put on the tree, so as much as the creative and decorative flare is important, I think having some sentimental value is what makes your tree extra special.
I hope you all enjoy putting up your Christmas trees & making them look beautiful. If anyone has any tips on how to take them down when it's all over then let me know! If only I had the space to just wrap it in cling film and store it fully dressed.





Post Comment
Post a Comment